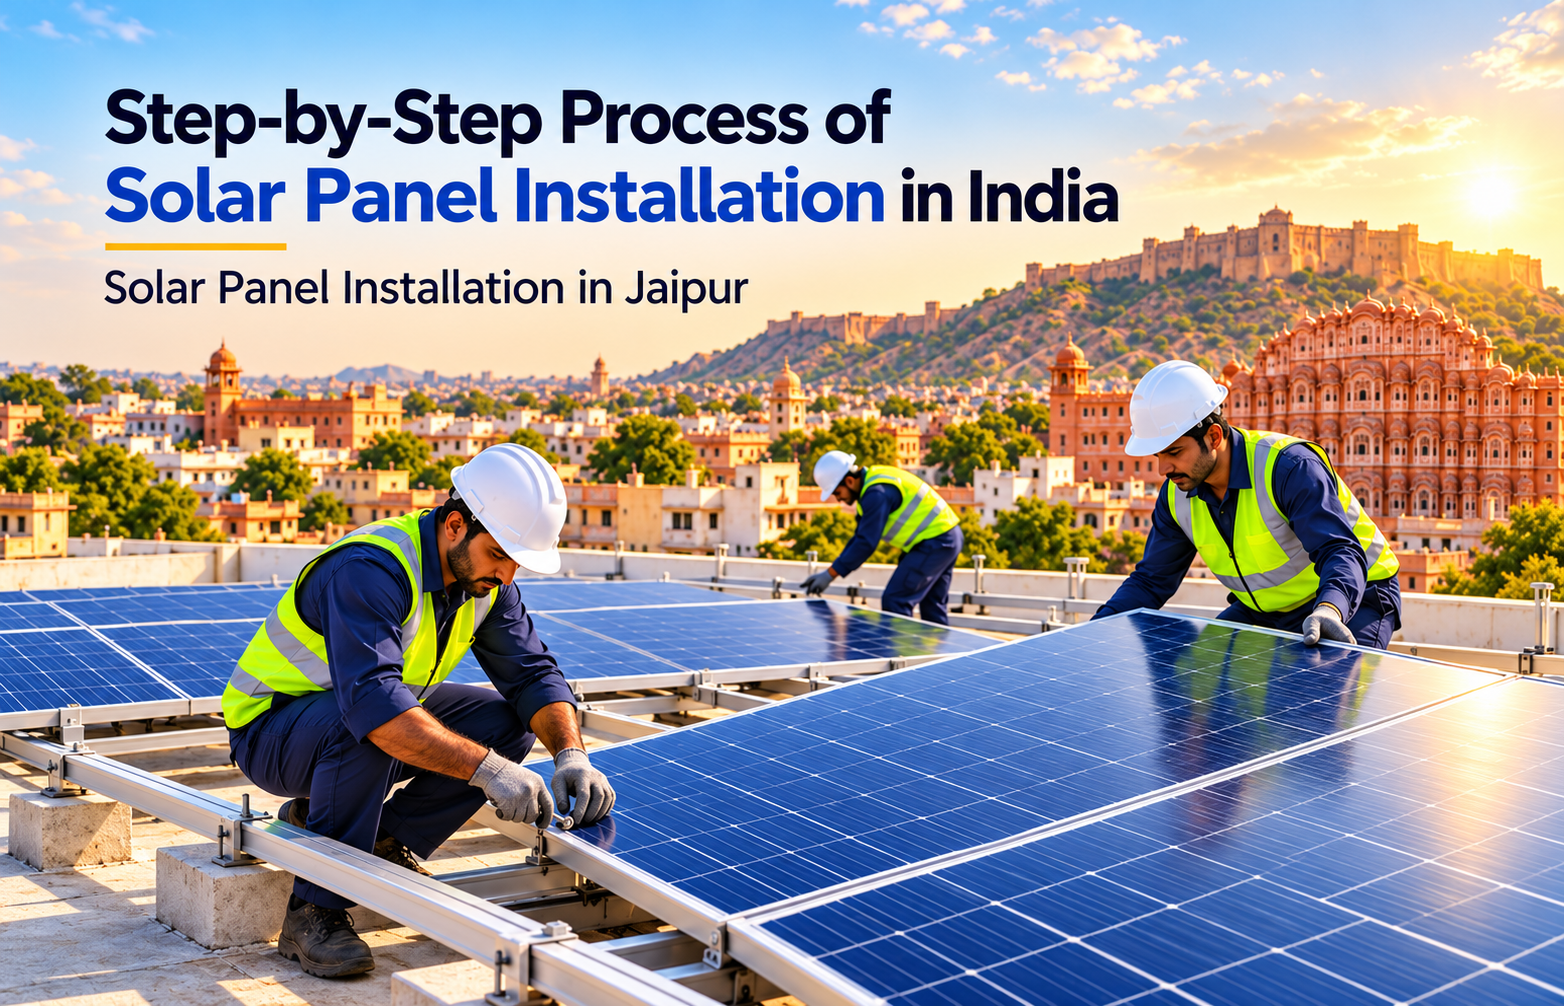
Step-by-Step Process of Solar Panel Installation in India
Solar energy is an increasingly practical option for homeowners and businesses looking to manage electricity costs and use renewable power. In Jaipur, rooftop solar can help reduce dependence on grid electricity when the system is designed around the property's energy requirements.
A successful installation involves more than mounting solar panels. It requires electricity consumption analysis, rooftop inspection, system design, electrical integration, applicable approvals, and commissioning.
This guide explains the step-by-step process of solar panel installation in India, with practical considerations for Jaipur property owners and guidance on choosing a reliable rooftop solar installation company.
Quick Answers: Solar panel installation costs in Jaipur vary according to system capacity, equipment specifications, roof conditions, electrical work, and whether battery storage is required. A reliable estimate should be based on a site assessment and a clearly itemised quotation.
What Is Solar Panel Installation?
Solar panel installation is the process of setting up photovoltaic (PV) panels and associated equipment to convert sunlight into electricity. The system may supply power directly to a property, work alongside the electricity grid, or include batteries for energy storage.
A typical rooftop solar system consists of:
- Solar panels: Convert sunlight into direct current (DC) electricity.
- Solar inverter: Converts DC electricity into alternating current (AC) for compatible electrical loads.
- Mounting structure: Secures the panels to the roof at a suitable angle and orientation.
- Electrical protection equipment: Helps protect the system against electrical faults and other hazards.
- Metering and monitoring equipment: Measures electricity flow and helps track system performance.
- Battery storage, where required: Stores electricity for later use in compatible systems.
The equipment required depends on the property's electricity needs, roof conditions, budget, and whether the system will be grid-connected, off-grid, or hybrid.
Read more: How Solar Reduces Business Electricity Bills in India
Step-by-Step Process of Solar Panel Installation in India
A professional solar installation project generally follows the stages below. The exact sequence can vary depending on the system capacity, property type, local electricity distribution company (DISCOM) requirements, and applicable regulations.
Step 1: Assess Your Electricity Consumption
The first step is to understand how much electricity your home or business uses.
Review your recent electricity bills to identify monthly consumption in kilowatt-hours (kWh), commonly shown as units on the bill. Ideally, examine 6–12 months of bills to understand seasonal variations.
Your installer should consider:
- Average monthly electricity consumption.
- Daytime electricity usage.
- Major appliances, machinery, or equipment.
- Current sanctioned electrical load.
- Expected changes in future electricity demand.
- Your budget and savings objectives.
For example, a household that consumes most of its electricity during the day may use rooftop solar differently from a commercial property that operates primarily during business hours.
The objective is to select a system that matches actual electricity requirements rather than choosing a capacity based only on the available roof space.
Step 2: Conduct a Rooftop Site Inspection
After understanding your electricity needs, the next step is a technical site inspection.
A professional installer assesses whether the roof can accommodate the proposed solar system safely and efficiently.
The inspection generally includes:
- Available rooftop space: The team measures usable roof area after allowing for access paths, maintenance clearance, and other rooftop equipment.
- Sunlight exposure: Nearby buildings, trees, water tanks, parapet walls, and other obstructions are assessed for potential shading.
- Roof condition: The installer checks the roof's condition and whether its structure can support the proposed mounting arrangement and associated loads.
- Orientation and tilt: Panel placement is planned to suit local solar conditions and the roof's geometry.
- Electrical infrastructure: The existing distribution board, earthing arrangements, wiring, and connection requirements are reviewed.
The inspection should document any site-specific constraints that could affect panel placement, structural suitability, electrical connections, or installation planning.
A site inspection helps identify technical challenges before work begins, reducing the likelihood of avoidable changes during installation.
Step 3: Select the Right Solar System
Once the site assessment is complete, the installer recommends a suitable system configuration.
There are three common options.
a. Grid-connected solar system
A grid-connected system works alongside the electricity supply from the DISCOM. Solar power can serve the property's electricity demand, while grid electricity supplies any shortfall. Depending on the approved metering arrangement, eligible surplus electricity may be exported to the grid.
This option is commonly considered by homes and businesses that already have a reliable grid connection.
b. Off-grid solar system
An off-grid system operates independently of the electricity grid and generally requires batteries to supply power when solar generation is unavailable.
It may be suitable for locations where grid access is unavailable or unreliable, although battery capacity and backup requirements need careful planning.
c. Hybrid solar system
A hybrid system combines solar generation with grid connectivity and battery storage, subject to the equipment configuration.
It can provide backup power during certain outages, but backup availability depends on battery capacity, inverter capability, system design, and connected loads.
Before selecting a system, ask the installer to explain its expected energy generation, backup capability, operating limitations, and maintenance requirements.
Step 4: Prepare the Solar System Design
After selecting the configuration, the installer prepares a system design based on the site's technical requirements.
The design typically specifies:
- Recommended solar capacity in kilowatts (kW).
- Number and rating of solar panels.
- Inverter capacity and configuration.
- Panel arrangement, orientation, and spacing.
- Mounting structure and roof attachment method.
- Cable routes and electrical protection equipment.
- Earthing and lightning protection requirements, as applicable.
- Monitoring equipment and grid connection arrangements.
The design should account for shading, operating temperatures, ventilation, electrical protection, and maintenance access. These factors help establish realistic generation estimates and determine how effectively the system can meet the property's electricity requirements.
Step 5: Review the Quotation and Project Scope
Before approving the project, review the quotation carefully.
A detailed quotation should identify the equipment, installation scope, applicable taxes, warranty terms, and any additional charges.
Check whether the quoted price includes:
- Solar panels and their specifications.
- Inverter and electrical protection equipment.
- Mounting structures and installation hardware.
- Wiring, earthing, and related electrical work.
- Installation, testing, and commissioning.
- Metering or grid-connection work, where applicable.
- Documentation and approval assistance.
- Monitoring, maintenance, and after-sales support.
Compare quotations based on equipment specifications, installation scope, warranty terms, safety provisions, and after-sales support. Ask for the assumptions behind any generation or savings estimate, including applicable tariffs and the treatment of exported electricity.
Step 6: Complete Approvals and Documentation
Before installation or grid connection, determine which approvals and documents are required for your project.
For residential grid-connected systems, the applicable government scheme and DISCOM process may involve an online application, technical requirements, vendor eligibility, inspection, metering, and commissioning documentation.
Commercial and industrial projects may have different requirements depending on capacity, connection category, and the applicable regulations.
For residential customers exploring government assistance, check the current rules of the PM Surya Ghar: Muft Bijli Yojana through official government channels. Eligibility, subsidy amounts, approved equipment, vendor requirements, and application procedures should be verified before making financial commitments.
A subsidy should not be treated as automatic. Eligibility and payment depend on the scheme's current terms and successful completion of the required procedures.
For projects in Jaipur, confirm the relevant DISCOM process and requirements for your particular connection before proceeding.
A qualified installer can help prepare the necessary documents and coordinate the process, but customers should retain copies of applications, approvals, quotations, invoices, and warranty records.
Step 7: Install the Mounting Structure
Once the project is ready for installation, the team prepares the roof and installs the mounting structure.
This structure supports the solar panels and must be suitable for the roof type, site conditions, and expected environmental loads.
During this stage, installers should:
- Verify the approved panel layout.
- Use suitable mounting hardware and corrosion-resistant materials.
- Secure the structure according to the engineering design.
- Protect the roof against water ingress where penetrations are necessary.
- Maintain suitable panel spacing and ventilation.
- Preserve safe access for inspection and maintenance.
For buildings exposed to Jaipur's summer heat, the mounting arrangement should also allow adequate airflow behind the modules.
The mounting structure must meet the roof's structural requirements and allow safe access, adequate ventilation, and appropriate waterproofing. Panel count should never take priority over structural safety.
Step 8: Mount the Solar Panels
After the mounting structure is secured, technicians install the solar panels according to the approved layout.
Panels are positioned to reduce avoidable shading and allow appropriate ventilation, access, and cable management.
Installers should handle the modules carefully to avoid damaging the glass, frame, connectors, or electrical components. The panels must be fixed using the mounting methods and hardware specified by the manufacturer.
The team should also check that the arrangement is compatible with the roof's load limits and that panels do not obstruct essential access routes or other rooftop equipment.
Step 9: Complete Electrical Wiring and Inverter Installation
After mounting the panels, the installation team connects the electrical components.
Solar modules generate DC electricity, which is routed through the designed electrical system to the inverter. The inverter converts it into AC electricity suitable for the property's electrical installation.
The work may include:
- Connecting solar modules into the designed electrical strings.
- Installing suitable DC and AC cables.
- Connecting isolators and protective devices.
- Installing and configuring the inverter.
- Completing earthing and other required protective measures.
- Connecting the system to the property's electrical infrastructure.
- Labelling cables, switches, and isolation points.
Qualified personnel should complete the wiring, earthing, protection, and inverter connections in accordance with applicable standards, manufacturer instructions, and local requirements.
Step 10: Complete Grid Integration and Metering
For a grid-connected system, the installation must be integrated with the electricity network in accordance with the applicable requirements.
Where required, the DISCOM may need to inspect the system, approve the connection, or arrange the relevant metering process before the system can operate under the approved arrangement.
Net metering, where permitted and approved, measures electricity flowing in both directions. The treatment of imported and exported electricity depends on the applicable regulations and tariff arrangements.
Customers should confirm:
- Whether net metering or another metering arrangement applies.
- Which meter and connection approvals are required.
- Whether the existing electrical connection needs modification.
- When the system is authorised to operate in parallel with the grid.
- How exported electricity will be accounted for on the bill.
Grid-connected solar inverters generally include protection features designed to stop grid-parallel operation during a grid outage. Therefore, a standard grid-tied system without suitable backup equipment usually does not provide electricity during a power cut.
If backup power is important, discuss a compatible hybrid or backup configuration with the installer before purchasing the system.
Step 11: Test and Commission the Solar System
Installation is not complete when the panels are physically in place. The system must be tested to confirm that it has been installed correctly and can operate safely.
This stage is known as testing and commissioning.
Depending on the system, the technical checks may include:
- Visual inspection of panels, mounting structures, and cable routes.
- Verification of electrical connections and protective devices.
- Checking polarity and string configuration.
- Appropriate electrical safety and insulation tests.
- Earthing and protection checks.
- Inverter configuration and operational checks.
- Verification of monitoring and communication equipment.
- Confirmation of grid integration and required approvals.
Before handover, the installer should document the relevant test results, explain the system's operating limitations, and confirm that all required commissioning and grid-connection procedures have been completed.
EGPS provides solar installation and commissioning services covering installation execution, system integration, testing, and performance verification. You can explore the EGPS solar installation and commissioning service for further information.
Step 12: Monitor Performance and Maintain the System
After commissioning, regular monitoring helps identify changes in system performance.
Solar generation naturally varies with weather, season, temperature, shading, and the availability of sunlight. A reduction in output should therefore be assessed against expected conditions rather than judged from a single day's generation.
Good maintenance practices include:
- Checking generation through the inverter or monitoring platform.
- Cleaning panels when dust or dirt meaningfully affects performance.
- Inspecting cables, mounting hardware, and accessible components.
- Monitoring inverter alerts and fault messages.
- Arranging qualified inspections when performance changes unexpectedly.
- Maintaining records of service visits and warranty claims.
In Jaipur, dust accumulation may make periodic cleaning necessary. Cleaning frequency should depend on actual soiling and site conditions, and all work should follow manufacturer guidance and appropriate safety practices. Monitoring generation and responding to equipment alerts can help identify performance issues before they become more significant.
Read more: How to Apply for a Solar Subsidy in India?
Solar Panel Installation in Jaipur: Key Considerations
Jaipur's climate and building conditions can influence the design, installation, and maintenance of rooftop solar systems.
1. Heat and system performance
High operating temperatures can reduce solar panel output. Suitable equipment selection, adequate ventilation, and realistic generation estimates are important when planning a rooftop installation.
2. Dust and panel cleaning
Dust accumulation can reduce the sunlight reaching solar modules. Periodic inspection and cleaning, based on actual site conditions, can help maintain performance.
3. Roof suitability and shading
Water tanks, nearby buildings, trees, and parapet walls can affect panel placement. The installer should assess shading, structural suitability, waterproofing, and safe rooftop access before installation.
4. Local approvals and electricity connections
Grid-connected projects must meet the applicable DISCOM and metering requirements. Confirm the necessary approvals, documentation, and connection arrangements before finalising the project.
A site-specific assessment helps ensure that the proposed solar system is appropriate for the property's electricity needs and rooftop conditions.
How to Choose a Rooftop Solar Installation Company
Selecting the right installer is an important part of a successful solar project. A low initial quotation does not necessarily represent the best long-term value.
Before hiring a company, evaluate the following factors.
1. Technical experience
Ask about experience with installations similar to yours, whether residential, commercial, or industrial. Request relevant project examples where available.
2. Equipment specifications
Check the make, model, rating, certification, and warranty terms of the proposed panels, inverter, and other major components.
3. Installation and safety practices
The company should explain how it assesses roof suitability, secures the mounting structure, manages electrical wiring, and carries out commissioning.
4. Documentation and approval support
Confirm who will handle applicable applications, metering coordination, inspection requirements, and other project documentation.
5. Transparent pricing
Request a written quotation with a clear scope of work, exclusions, payment terms, and any costs that may arise separately.
6. Testing and handover
Ask whether the company provides commissioning records, operating instructions, monitoring access, and warranty documentation.
7. After-sales service
Understand how technical issues, inverter faults, maintenance requests, and warranty claims will be handled after installation.
If you are evaluating options for solar panel installation in Jaipur, review EGPS's solar installation and commissioning services to understand the available support for your project. Discuss your property type, electricity requirements, installation scope, and commissioning needs before finalising a proposal.
Read more: Solar vs Electricity: Which Is Cheaper in India?
Common Mistakes to Avoid During Solar Installation
A well-planned solar project can help prevent unnecessary expenses and installation problems. Avoid these common mistakes:
- Choosing the wrong system capacity: Base the design on electricity consumption, usable roof space, and technical requirements.
- Ignoring roof condition and shading: Assess structural suitability, waterproofing, and potential obstructions before installation.
- Selecting a quotation based on price alone: Compare equipment specifications, installation scope, warranties, and after-sales support.
- Overlooking approvals and commissioning: Verify applicable connection requirements and ensure the system is appropriately tested before authorised operation.
- Neglecting maintenance: Monitor generation, address equipment alerts, and clean panels when site conditions require it.
Reviewing these factors before installation can help improve system suitability, safety, and long-term reliability.
Read more: How Much Subsidy Can You Get on Rooftop Solar in Rajasthan?
How Much Does Solar Panel Installation Cost in Jaipur?
To estimate the cost of solar panel installation in Jaipur, request a site-specific quotation based on your electricity requirements, roof conditions, equipment selection, and proposed system capacity. If you are considering government assistance, verify the current eligibility criteria and applicable scheme conditions through official channels before including a subsidy in your budget.
The main cost factors include:
- Solar system capacity.
- Panel and inverter specifications.
- Type and complexity of the mounting structure.
- Roof accessibility and installation requirements.
- Electrical upgrades and protection equipment.
- Grid connection and metering requirements.
- Battery storage, if included.
- Monitoring, maintenance, and additional services.
A residential rooftop system may have a different cost structure from a commercial or industrial installation because equipment, engineering, and electrical requirements can vary significantly.
To obtain a meaningful estimate, share your recent electricity bill, property type, available rooftop information, and preferred system configuration with the installer. Ask for a written quotation that separates the included equipment and services from any optional costs.
If you are considering a subsidy, calculate the potential benefit only after verifying your eligibility and the scheme's current terms. Your actual savings will also depend on solar generation, self-consumption, applicable electricity tariffs, and the rules for exported electricity.
Conclusion
Solar panel installation involves several stages, from assessing electricity consumption and inspecting the roof to system design, electrical integration, testing, and commissioning. Each stage contributes to the safety, suitability, and performance of the finished system.
For property owners considering solar panel installation in Jaipur, a site-specific assessment, transparent quotation, appropriate approvals, and professional installation practices are essential.
If you are planning a rooftop solar project, explore EGPS's solar installation and commissioning services to discuss your property's requirements, installation scope, and commissioning needs.
A successful solar installation starts with the right system design and ends with a properly tested system that meets the property's requirements.
Frequently Asked Questions
1. What is the process of solar panel installation in India?
Solar panel installation typically involves electricity consumption analysis, site inspection, system selection, technical design, quotation approval, documentation, panel mounting, electrical connections, grid integration, and commissioning.
2. How do I choose a solar panel installation company in Jaipur?
Choose a company that offers a detailed site assessment, suitable equipment, transparent quotations, qualified installation professionals, assistance with applicable approvals, proper commissioning, and after-sales support.
3. How long does solar panel installation take?
The installation timeline depends on system capacity, rooftop conditions, equipment availability, and approval or grid-connection requirements. Physical installation may take a few days, while the complete project can take longer.
4. Which type of solar system is best for a home in Jaipur?
A grid-connected system may suit homes that primarily want to reduce grid electricity consumption. An off-grid system may suit properties requiring independent power, while a hybrid system combines grid connectivity with battery storage. The right option depends on electricity needs, backup requirements, and budget.
5. Is rooftop solar suitable for Jaipur's hot climate?
Yes, rooftop solar can be suitable for Jaipur's sunny climate. However, high temperatures can reduce panel efficiency, so appropriate equipment selection, ventilation, installation quality, and system design are important.
6. Is government subsidy available for residential rooftop solar in Jaipur?
Eligible residential consumers may qualify for assistance under applicable government rooftop solar schemes. Eligibility, approved vendors, system requirements, and subsidy amounts can change, so check the current guidelines on the official PM Surya Ghar portal.
7. Does rooftop solar work during a power cut?
A standard grid-connected solar system generally shuts down during a grid outage for safety reasons. A system with suitable battery backup and compatible inverter functionality may provide power during an outage, depending on its configuration.
8. How often should solar panels be cleaned in Jaipur?
Cleaning frequency depends on dust accumulation, rainfall, nearby construction, and other site conditions. Inspect panels periodically and clean them when soiling may affect performance, following the manufacturer's instructions and appropriate safety practices.
9. What is the difference between solar installation and commissioning?
Solar installation involves mounting panels, fitting equipment, and completing electrical connections. Commissioning involves testing the completed system, verifying its operation, checking relevant safety requirements, and preparing it for authorised operation.
10. How can I estimate savings from rooftop solar?
Savings depend on system capacity, actual electricity generation, household or business consumption, applicable electricity tariffs, self-consumption, and exported electricity rules. A site-specific assessment and realistic generation estimate can provide a more useful projection.
11. Does EGPS provide solar installation and commissioning services in Jaipur?
EGPS offers solar installation and commissioning services. Customers should review the company's service scope and confirm project availability, technical requirements, and support for their specific location before proceeding.